Your Cart is Empty

Buttermilk. It instantly brings visions of hot, fluffy pancakes and fresh-baked biscuits to mind. People love to cook with buttermilk, as it enhances almost any dish with its tangy taste. However, many people aren’t aware that the buttermilk they purchase in the grocery store is a processed version of the real stuff.
Making your own buttermilk is easier than you think. Real buttermilk is a by-product that comes from the butter-making process. However, these days people use the term buttermilk for cultured milk.
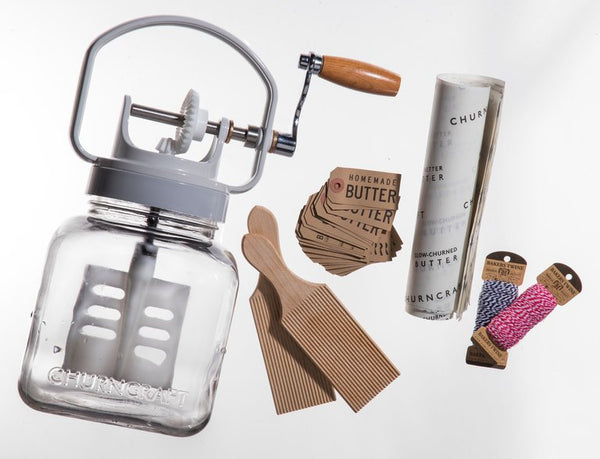
There is nothing like traditional buttermilk, so I advise you to buy a butter churn and start making your own! You can’t beat authentic buttermilk biscuits…
However, culturing your own buttermilk is very simple. Below are three common methods for making buttermilk.
1. Use a reusable cultured buttermilk starter. Heirloom starters are the starter cultures that live forever. You take a little amount from each batch and use it to make the next batch. This is the most economical way to make buttermilk
2. Use a direct-set buttermilk starter. Unlike the heirloom variety, these cultures are one-time use. Follow the instructions on the starter packet.
3. Use fresh raw milk and time. Pour 1 cup of fresh raw milk into a jar and seal it. Let it sit at room temperature until it has clabbered (approximately 2-3 days). Take 1/4 cup of the clabbered milk and pour into a second jar. Add 1 cup of fresh milk (can be raw or pasteurized) to the 1/4 cup of clabbered milk. Seal and shake jar to mix. Let the mixture sit at room temperature for another day or so until clabbered. Repeat this two-step process several times until the milk clabbers within 24 hours. When ready, the thickened cultured buttermilk should coat your glass. Be sure to refrigerate once it is cultured. To change the quantity, use a 1:3 ratio.
Comments will be approved before showing up.


What an honor to be featured in The New York Times! We are so proud to have gotten a stamp of approval from Florence Fabricant, food critic of the NYT.
