A step-by-step tutorial for churning butter at home
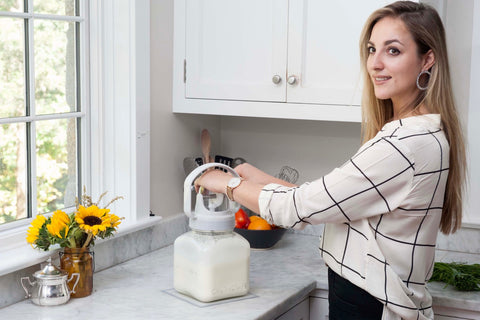
Homemade butter is easy to make. It is one of the few culinary processes that starts with one ingredient (cream) and ends with two (butter & buttermilk).
Churning time is dependent on the starting temperature of the cream and the speed of churning. If you start with cream at 65
°F and churn at a speed of about 120-150 RPM, the total time of making butter (including draining buttermilk and molding butter) is about 20-25 minutes.
There are many ways to make your own butter, but we find the simplest and most effective way is to use a hand-powered butter churn. The end product is creamy, rich and just better.
Five Easy Steps to Making Butter

1. Before Making Butter:
Let 2 quarts of heavy cream warm up to room temperature (about 60-65° F). If cream is too cold, it will take much longer to churn. If it is too warm, the butter will be soft and gloopy.
2. Setup:
Pour cream into jar up to fill line. Place jar on non- skid pad. Look for beginning and end points of thread right above the word CHURNCRAFT. Make sure this side is facing you. Place mechanical top onto glass jar (with gasket fitted snugly inside lid). Wooden grip should be pointing to the right. Place both hands around sides of lid and screw on gently until lid is securely fitted onto jar.

3. Churning:
Grab wooden grip and start churning vigorously. Try out different handholds: on top or side of arc handle, on dome, or around inner frame. After several minutes of churning, whipped cream will fill the entire jar. Keep churning.
Whipped cream will turn into a heavy grainy mass. Small yellowish clumps of butter will start to appear. Keep churning until you see two distinct substances in jar: thin white buttermilk and thick clumps of yellow butter. This should take around 8-10 minutes.
4. Processing:
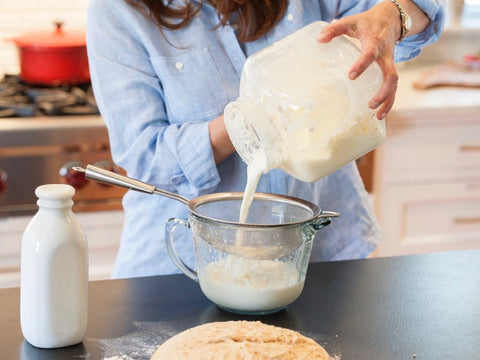
Using a strainer, pour buttermilk into separate container and reserve. Rinse butter in very cold water (either in glass jar or bowl). Squeeze out residual buttermilk using a long spoon, spatula, butter paddles or clean hands. Rinse several times. Knead and squeeze until water runs clear.
5. Shaping and Storing:
Shape butter into blocks or logs. Wrap tightly with Churncraft's
custom butter paper or plastic wrap, or press into crocks, glass jars or airtight containers. Keep well sealed!
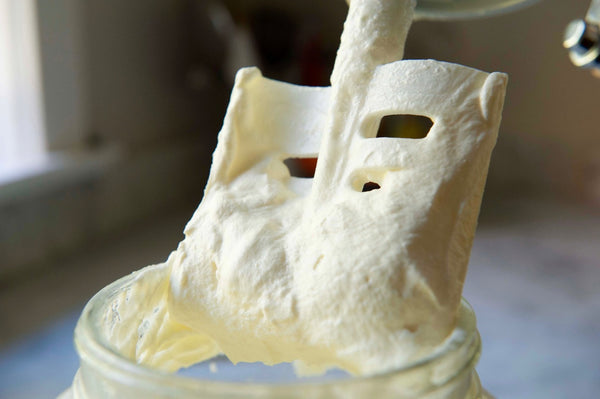
Stage One: Whipped Cream
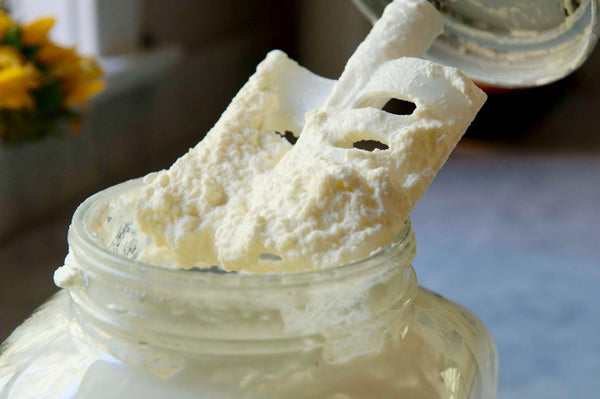 Stage Two: Thick, grainy cream
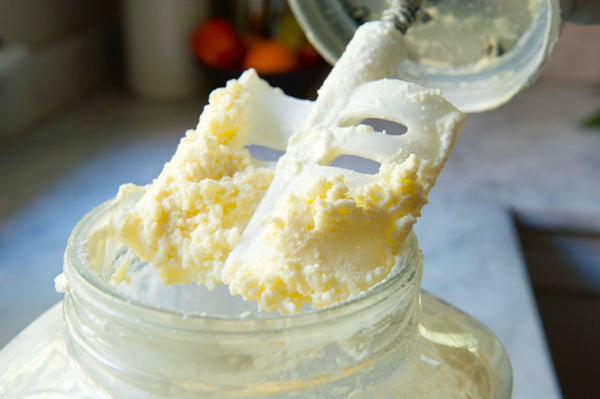 Stage Three: Fresh butter
Tips for Making Butter at Home
1. Make sure the cream is at room temperature before starting to churn. The temperature range listed in our booklet is 55-65, however, we have found that churning cream on the warmer end of that spectrum (ideally 63-65 degrees) will speed up the process considerably!
2. Never warm up the cream in a microwave. Instead, let the cream warm up slowly on the counter. Also, do not let the cream get warmer than 70 degrees or your butter may turn out gloopy and may not fully separate from the buttermilk.
3. Rinse your finished butter thoroughly in cold water. Make sure all of the residual buttermilk is removed from the butter by kneading it with a wooden spoon, butter paddle or spatula. The liquid buttermilk only stays fresh for several days, whereas full fat butter that is free of buttermilk can keep for a few weeks.
4. Be sure to save your fresh buttermilk. It is a wonderful ingredient that can be used for pancakes, baking, marinades, salad dressings, etc. Use up your buttermilk within a couple of days post-churning to ensure freshness!
5. The best time to make compound butter is right after rinsing the butter. At this point, your butter will have a lovely, soft consistency and it is the perfect moment for adding herbs, spices, honey, roasted garlic, etc. Check out some of our compound butter recipes!
 Homemade butter is easy to make. It is one of the few culinary processes that starts with one ingredient (cream) and ends with two (butter & buttermilk).


 Stage Two: Thick, grainy cream
 Stage Three: Fresh butter